01
Choose the reject method
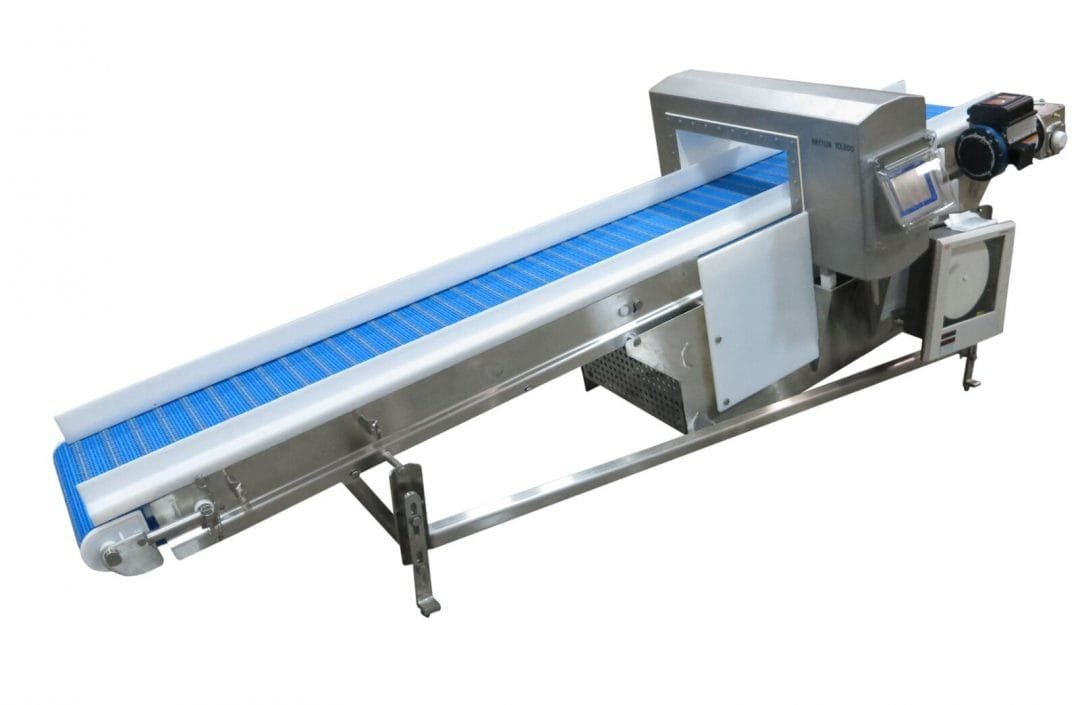
Stop-on-detect pauses the line for manual removal and is the simplest arrangement. Automated options include a timed side pusher, an air blast for light products, a diverter arm for a controlled lane or bulk section, and a retracting tail that opens a drop path to a reject conveyor or bin.
02
Design the metal-free zone
The product and conveyor pass through the detector aperture. The archived guide notes that many systems require a metal-free zone of about 1.5 times the aperture height; the detector manufacturer's exact requirement governs. Conveyor bed and frame sections within that zone must use suitable non-metallic construction.
03
Treat it as one machine
An unnecessarily large aperture expands the metal-free zone and can remove the space needed for a reject mechanism. Select the detector, conveyor, guards and reject handling together. Balance compactness, sanitation, safe access and confirmation that rejected product has reached the secure destination.
Field checklist
Protect detector performance through integration
The conveyor frame, belt, fasteners and nearby equipment can influence detector performance. Establish the manufacturer's metal-free-zone requirement before fixing the conveyor geometry, then validate the reject timing with products at normal spacing and speed. Reject confirmation and a secure destination complete the inspection function.
- Use a correctly sized aperture
- Keep unsuitable metallic components outside the defined zone
- Challenge-test detection and reject timing
- Prevent rejected product from re-entering the accepted flow